Tyre changing tips & tricks
An often seen sight on the roads in our country is a vehicle with a flat tyre while the motorist is struggling to change the deflated tyre – most

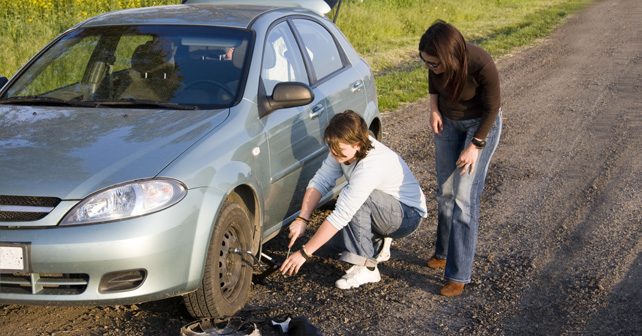
An often seen sight on the roads in our country is a vehicle with a flat tyre while the motorist is struggling to change the deflated tyre – most likely due to a lack of knowhow, or associated troubles like missing tools, the spare being flat too, etc. After all, in our country, this situation occurs not only due to normal hazards like nails, sharp stones, piece of strewn metal, etc., but also due to the poor condition of our roads.
However, with the advent of tubeless tyres and their widespread usage, the number of punctures, or rather their frequency has gone down drastically compared to the cross-ply tyres of old. This is because tubeless radials consist of steel belts, which tend to repel or avoid a puncture from small or medium sized objects. As a result, the skill, or rather knowledge, of how to change a tyre is fast disappearing in modern motorists who mostly prefer to get the job done by either their driver or drive down to the nearest puncturewallah (at times completely destroying the tyre in the process). However, in the past this was a vital skill for all drivers to know, as punctures were fast and frequent and help was often unavailable for hundreds of kilometres.
So, to help those who are not well versed with the process of changing a punctured tyre, and as a refresher to those who are, here is a brief guide on how to correctly (and safely) change a flat tyre and a small list of do’s and don’ts about the whole process:
Parking & Safety: One of the first steps before changing a flat tyre is to make sure the car is parked on level ground so that there is no chance of the car slipping when raised on the jack, as this can lead to serious injury. Also, it is advisable to engage reverse gear and also engage the handbrake fully to ensure there is no possibility of the car moving. Secondly, for the safety of your fellow motorists, use the reflective safety warning triangle and place it on the road at a distance of 7-10 metres before the car so other vehicles on the road are sufficiently warned of your car’s presence.
Loosening the Wheel nuts: It is important to loosen the wheel nuts before raising the car on the jack. This ensures that in the process of loosening the wheels, too much stress is not directly applied on to the drivetrain components.
Correct Jack placement: Modern cars are equipped with areas in the underbody that are specifically strengthened to take the extra load off the jack being placed at that point. It is important to place the jack under the reinforced section otherwise the underbody can suffer damage from the pressure applied to it. For correct placement, it is best to consult the User Manual of the vehicle to determine the exact location.
Replacing the Tyre: Once the car is raised up, it is an easy process to completely remove the wheel nuts and the flat tyre. Also, it is prudent to raise the car with at least 2 inches of clearance between the flat wheel and the ground as the spare tyre being correctly inflated will require extra clearance to fit back.
Tightening the wheel nuts: Once the tyre is refitted, remember to fasten the nuts in a diagonal fashion, this ensures that while fastening the tyre, the pressure is spread evenly rather than one end facing more stress.
Final tightening and removing the jack: To fully tighten the nuts, one should use the reverse procedure as used when loosening them, i.e. after lightly tightening them, lower the car and remove the jack from under the car and then fully tighten the nuts in a diagonal order. Once this is done, the car is again safe to drive.
Before you drive off though, make sure all nuts have been tightened properly and all the tools have been placed back in the car along with the spare tyre. Also, don’t forget to collect the safety triangle!


.webp)


Write your Comment on